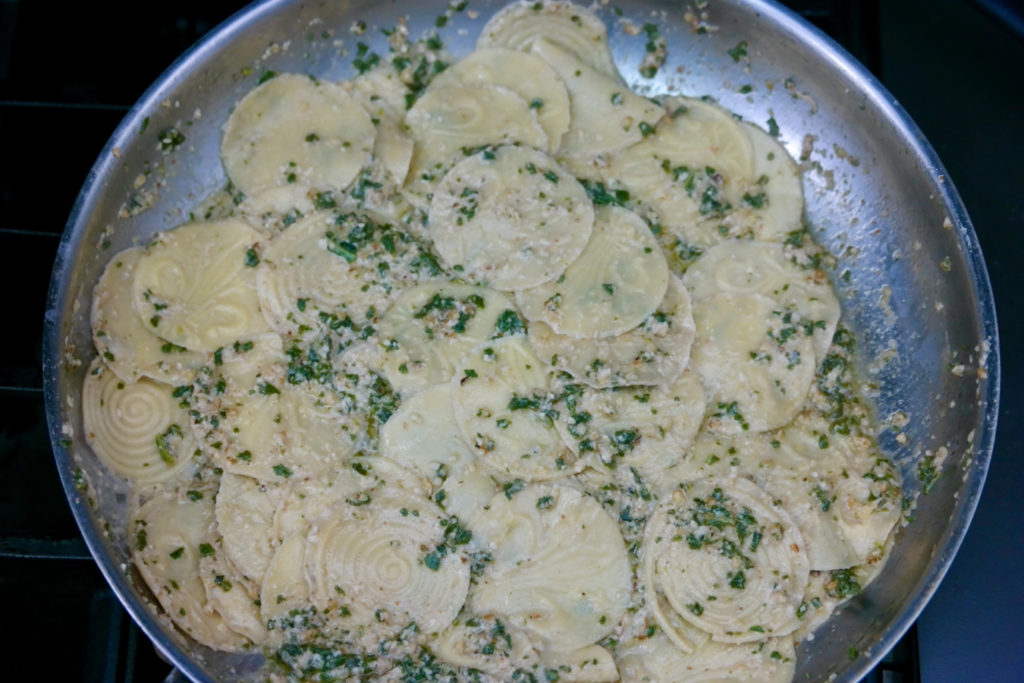
Yes, yes, it was recently Thanksgiving, and we’ll definitely share here what we made for the holiday – don’t worry! But before we get to that, we also wanted to feature our latest homemade pasta experiment. As you might know, we bought a cookbook at the beginning of this year that shows how to make all different kinds of pasta at home, and we’ve been working our way through all the interesting shapes. Recently we tried our hand at corzetti (also called croxetti) – a shape we’ve encountered before, but in that instance we had bought a bag of this pasta in an Italian specialty store and just cooked it up. Here we shaped it for ourselves, and we found out that it’s actually pretty easy. That’s probably why this pasta has endured for so long: corzetti dates back at least to the Middle Ages, from the area of northern Italy near the French border. They’re also just an interesting and fun-looking shape, so here’s how you can prepare them from scratch for yourself.
You’ll need:
- 00 flour
- Semolina flour
- 5 eggs
- Olive oil
- A large bundle of sage
- Butter
- Garlic
- Walnuts
- A lemon
- Parmesan cheese
** You’ll also need to buy a corzetti stamp – here’s the one we got
First, the pasta – to make the dough, follow the first three steps here, except that when you’re rolling out the dough, roll it only to a 4 setting and send it through twice at that setting. Then lay the pasta sheets out on parchment paper and dust each one with 00 flour.
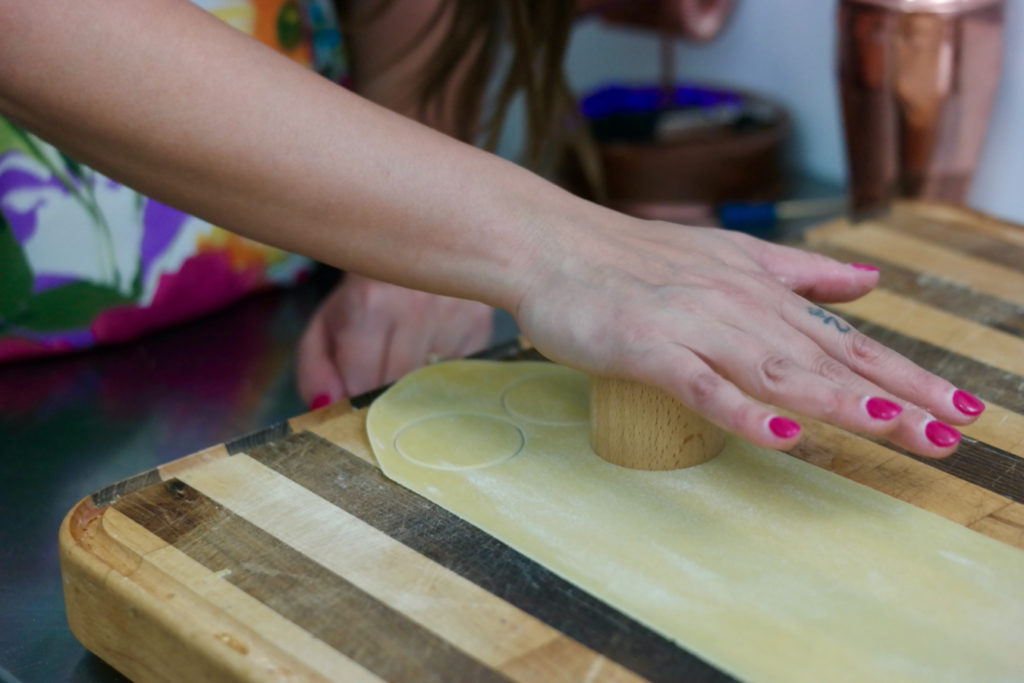
Place one sheet at a time on a work surface. Take the side of your corzetti stamp that has raised edges but no pattern and press it into the dough, twisting slightly each time so that you are cutting out individual pieces of pasta.
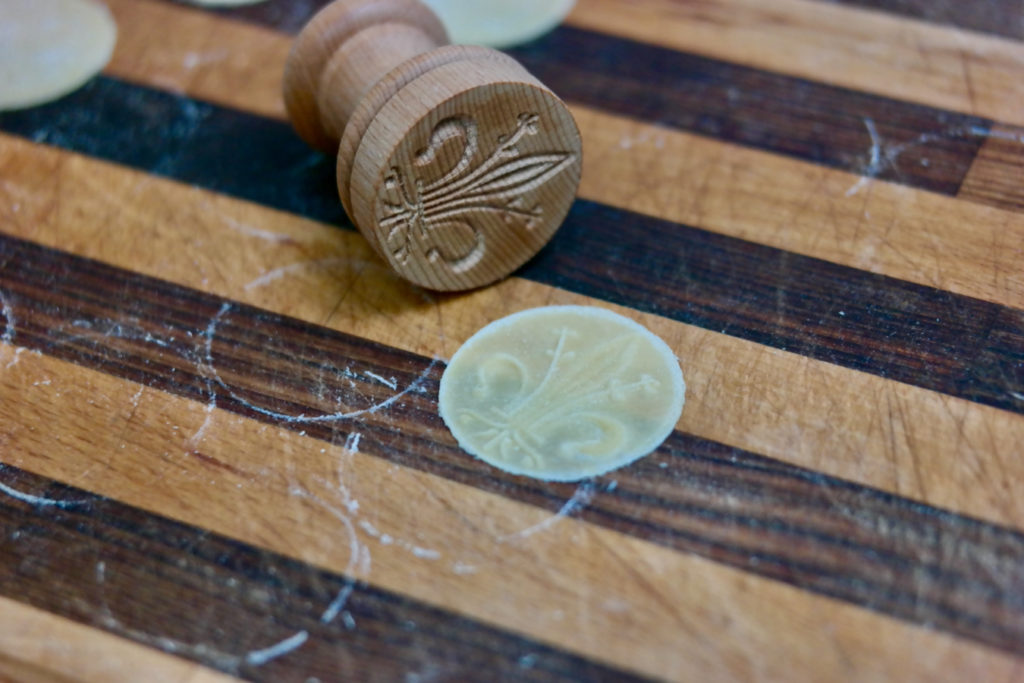
Then, working one piece at a time, press the stamp’s pattern into the surface of each corzetto. Make sure you’re aligning the stamp with the edges of each piece, so the pattern is centered, and press rather hard so the pattern shows up well in the dough. Our stamp had two different patterns so we made a few of each one, but we thought this one looked more impressive:
Line baking sheets with parchment paper, scatter them with semolina flour, and place the corzetti on the sheets without overlapping. Let the pasta dry for at least half an hour.
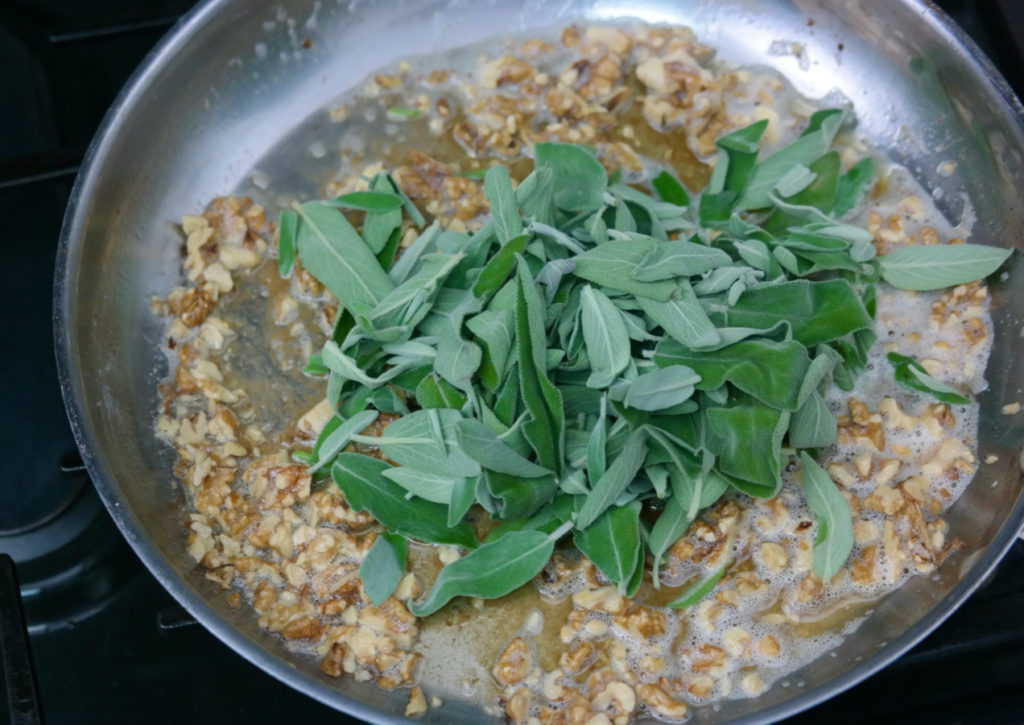
When you’re ready to cook, take a large pan and place in 6 tablespoons of butter. Melt it over medium-high heat, then add in 1/2 cup of walnuts and about 2 cups of sage leaves and let everything cook until the butter just starts to brown.
Pour all this into a food processor along with 4 cloves of garlic, the juice and zest from your lemon, 1/2 cup of grated Parmesan, and some salt and pepper. Blend everything together into a sauce – we made ours a little more chunky, but you can keep running the food processor until you have a smooth sauce. Then place this pesto back into your pan.
Now cook your corzetti in heavily salted boiling water for 4 minutes and use a spider strainer to transfer them from the water into the pan with your sauce. Use a rubber spatula to gently mix everything together, adding 1/4 cup-scoops of the pasta cooking water as needed to loosen the sauce and help it cling to the pasta.
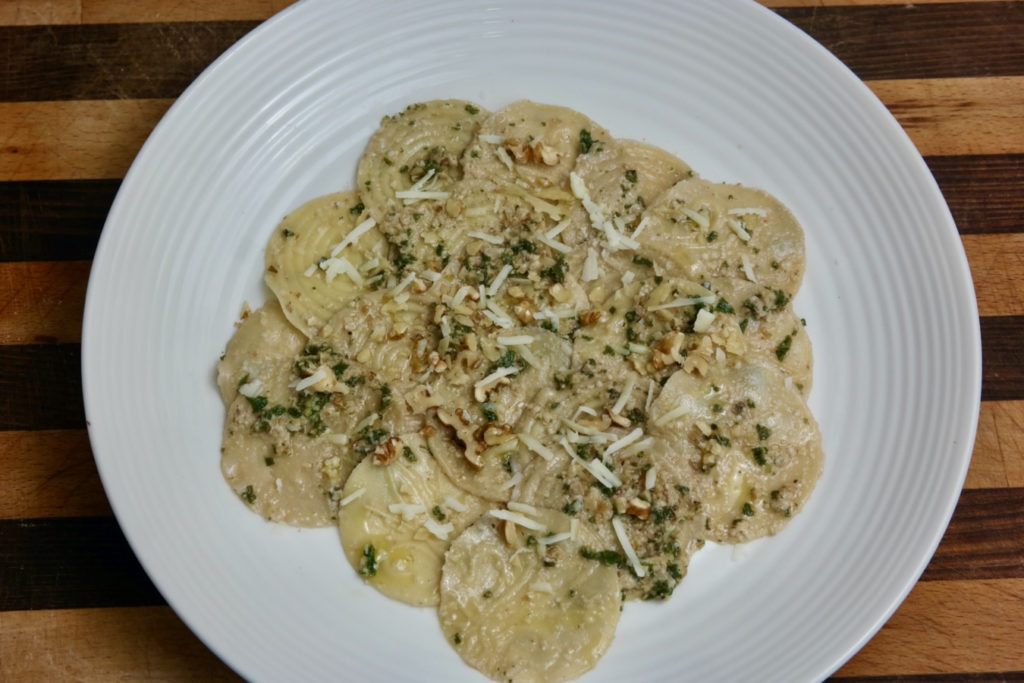
Now you can plate up servings of corzetti – we also grated a little extra Parmesan and chopped up a few more walnuts to sprinkle on top.
We liked that we got a pretty cool-looking pasta for not too much effort on our part: you don’t have to roll this dough out as thin as with other shapes, which makes it a little more manageable, and then you only need to cut out each corzetto and stamp them. This pasta also dries fast, so it’s ready to cook much sooner – all in all, this is a shape that you can craft relatively quickly, instead of having to plan your whole day around shaping and drying the dough. It was fitting as well to pair these with pesto, since that’s a pretty traditional sauce up in northern Italy where corzetti come from, and using sage as the base herb here made for an interesting twist on a classic. You will need to invest in a special tool to make corzetti, but it was worth it for the satisfaction of making this unusual shape entirely on our own.
