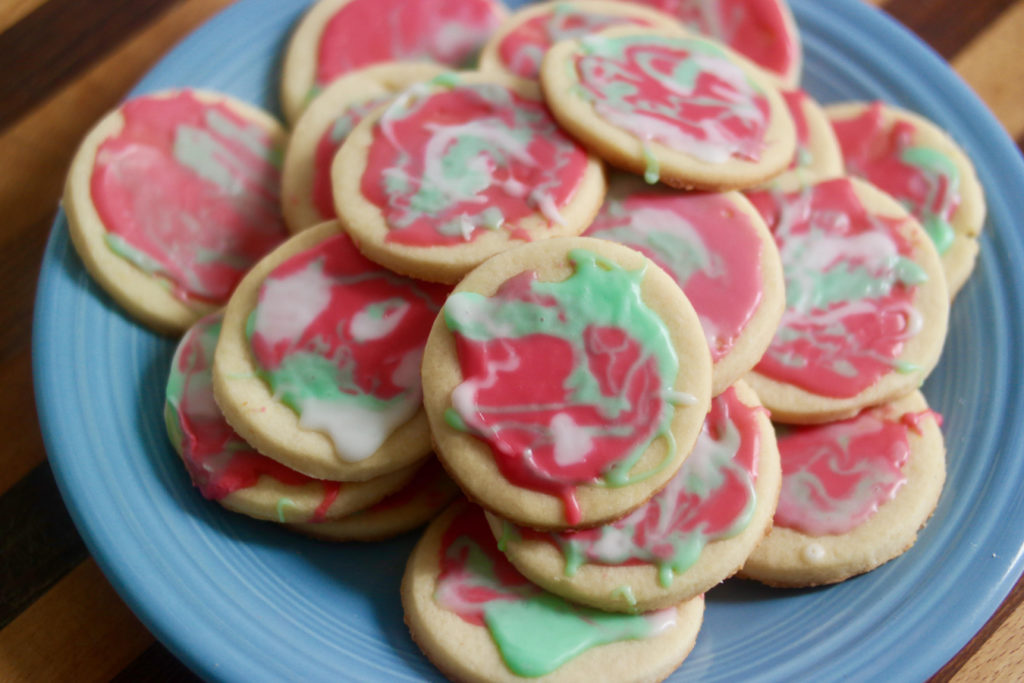
If you saw our post earlier this week, you know that we recently went on a Christmas cookie-making frenzy. This is our second recipe we want to share with you: these awesome cookies that aren’t just delicious but also really colorful and fun. And believe it or not, they aren’t super hard to make – all you need is some creativity, a steady hand, and a few standard baking ingredients. We tried to make our cookies look festive for the holidays (though Cyril also said they looked like a 90s-era Trapper Keeper color combination), but you can use any colors you want. We’ll show you how you can make these cool-looking cookies for yourself, which we based on this recipe from Bon Appétit.
You’ll need:
- 1 3/4 sticks (14 tablespoons) of butter
- Sugar
- 2 eggs
- Vanilla extract
- Flour
- Powdered sugar
- Milk
- 2 different colors of food coloring
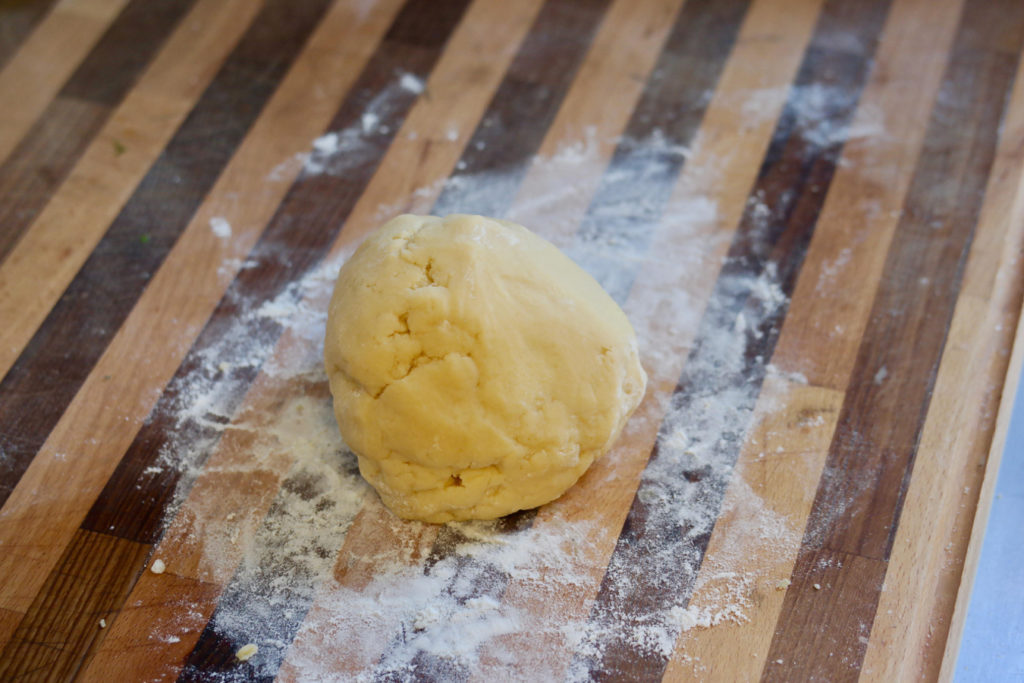
First you’ll want to make the dough: combine your butter, 1/2 cup of sugar, and a pinch of salt in a stand mixer at high speed for about 3 minutes, until everything looks fluffy. Add in 2 egg yolks and 2 teaspoons of vanilla and mix until these two ingredients are evenly incorporated, then turn the speed down to low and pour in 2 cups of flour. Let the mixer run until a smooth dough comes together, then take it out and knead it into a ball. Wrap the dough up in plastic and stick it in the fridge for 15 minutes.
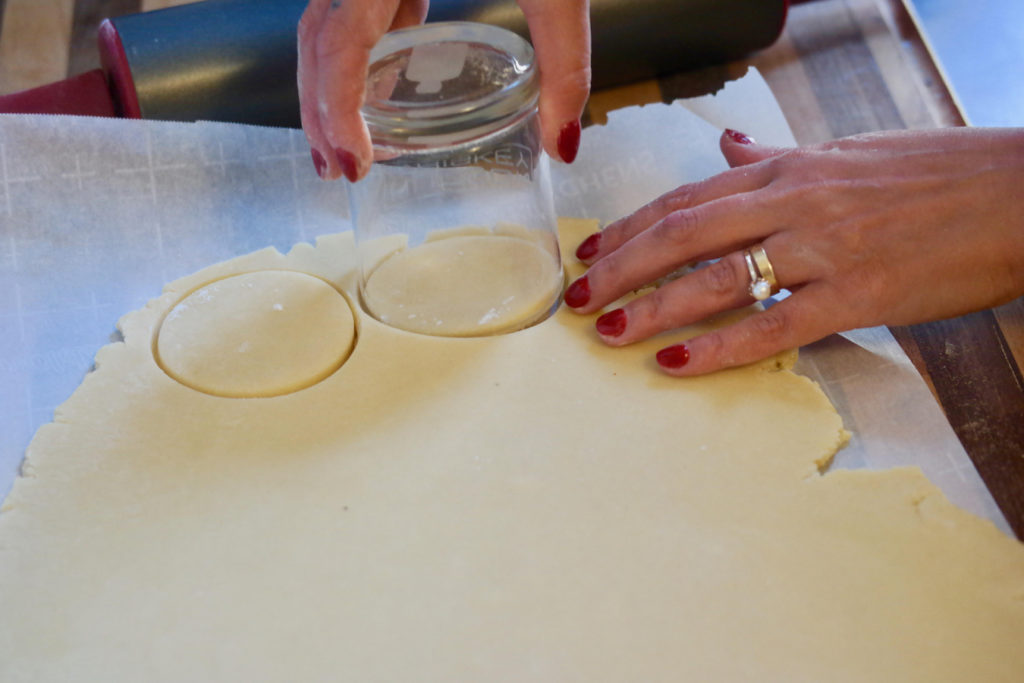
Now roll the dough out on a floured sheet of parchment paper to about 1/4-inch thickness. Use a small glass with a floured rim to cut out rounds.
Place the cookies on parchment-lined baking sheets, spaced at least an inch and a half apart, and bake at 350°F for 10-12 minutes until the edges start to lightly brown. Once the cookies come out of the oven, let them fully cool.
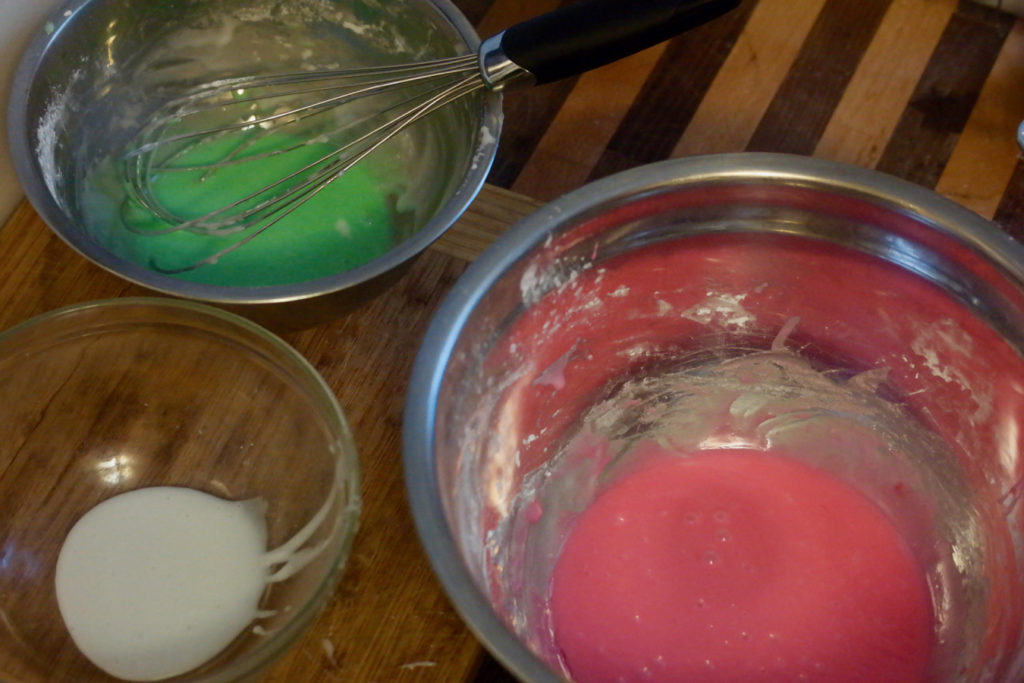
Meanwhile, place a cup of powdered sugar and 3 tablespoons of milk in a bowl and whisk them together. Add in food coloring one drop at a time and whisk until you reach your desired level of color. In a second bowl, mix another cup of powdered sugar and 3 tablespoons of milk. Take a small amount of this glaze and set it aside, uncolored, in a third small bowl. Use food coloring to the make remaining glaze another color. (Just FYI, we used 4 drops of red and 2 drops of green for our two colors).
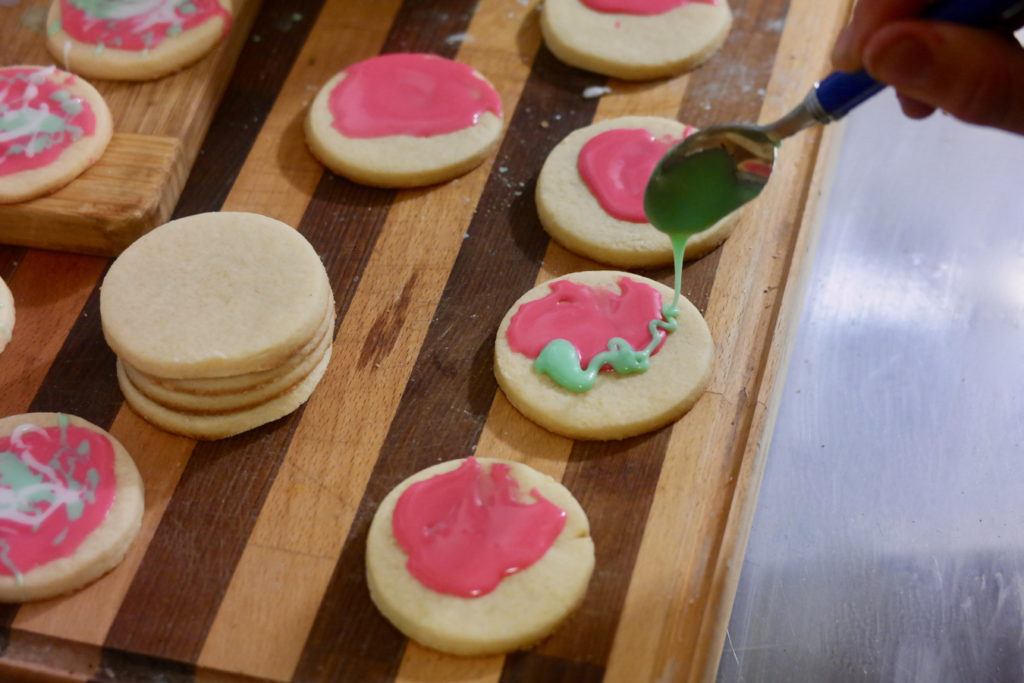
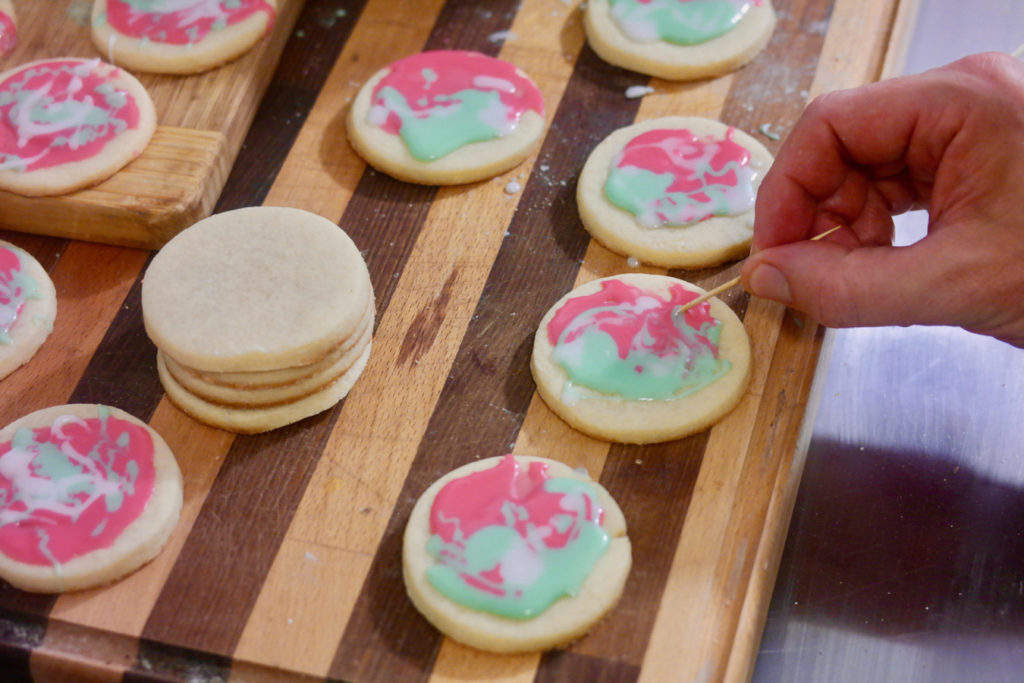
Once the cookies are cool to the touch, use a spoon to drizzle a small amount of one color on each cookie, then some of the second color and a little white glaze.
Then grab a toothpick and swirl the glazes together until you have a cool pattern.
You’ll want to let the glaze completely set for at least 2 hours, then you can serve up the cookies!
So despite what you may have thought when you first saw this plate of cookies, these are fairly easy to make. The dough is an easy, basic recipe that doesn’t need to chill too long, and the swirled glaze is simply a matter of whisking together powdered sugar, milk, and food coloring and then doing some artistic mixing. You get to pick your colors, and you get to do the actual tie dyeing as well. We had a lot of fun making these, and they also look really cool, so we’re sure you’ll like adding them to your Christmas cookie arsenal.
