It’s that time of year again – time for Christmas cookies! Every year we make a few varieties of cookies, some that are traditional in our families and some that are brand new to us. This year we made five different types of cookies, and we’re going to spend the next few weeks showcasing them all. Today’s cookie is a festive-looking mint and chocolate one, which gets its color from real mint instead of food coloring. These ones do take some time to assemble, but we both thought these were the best of the bunch this year – and they also look pretty cool and impressive – so we’re going to show you how we made them, based on this recipe from Bon Appétit.
To make these, you’ll need:
- Flour
- Baking powder
- 2 bunches of mint
- Sugar
- 2 1/2 sticks of butter
- 2 eggs
- Raw sugar
- Powdered sugar
- Cocoa powder
- Light corn syrup
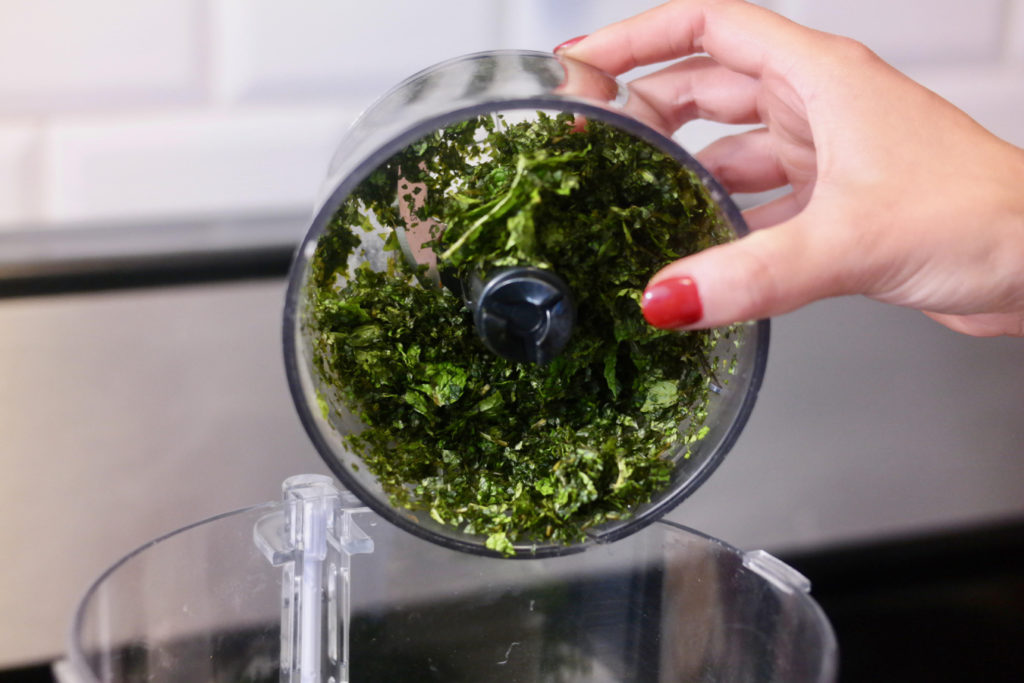
First, you’ll want to pick all the leaves off both bunches of mint – you should end up with around 2 cups of leaves. Place these in a small food processor along with a cup of sugar and pulse just until the mint is chopped up.
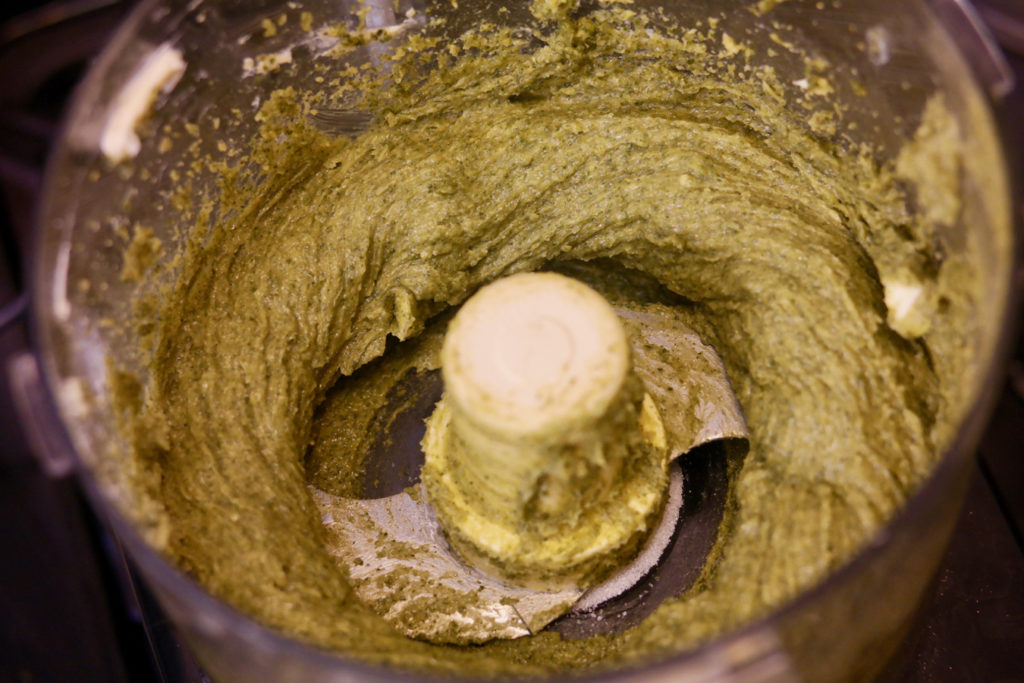
Place the mint and sugar into a larger food processor and add all of your butter. Combine everything together until you have a smooth, even mixture.
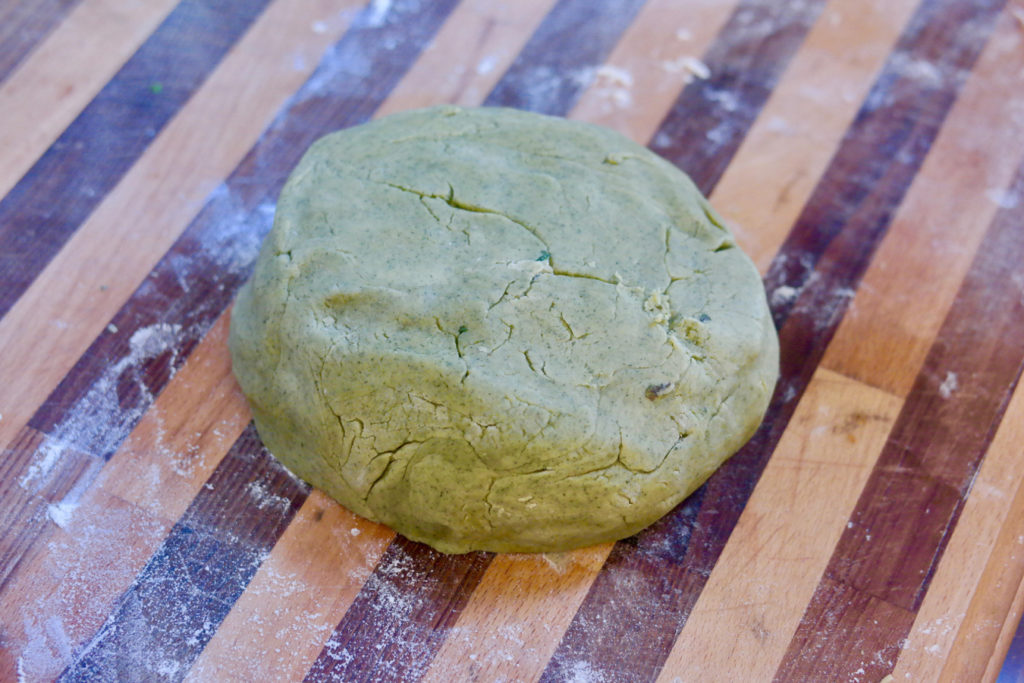
In a separate bowl whisk together 2 1/2 cups of flour, 2 teaspoons of baking powder, and a large pinch of salt. Pour this mixture into the food processor, along with one whole egg and one egg yolk, and process together until you have a dough. Place the dough on a floured working surface and knead it into one smooth piece, then divided it in half and squish both halves down into one-inch-thick disks. Wrap each in plastic wrap and stick in your fridge for 2 hours.
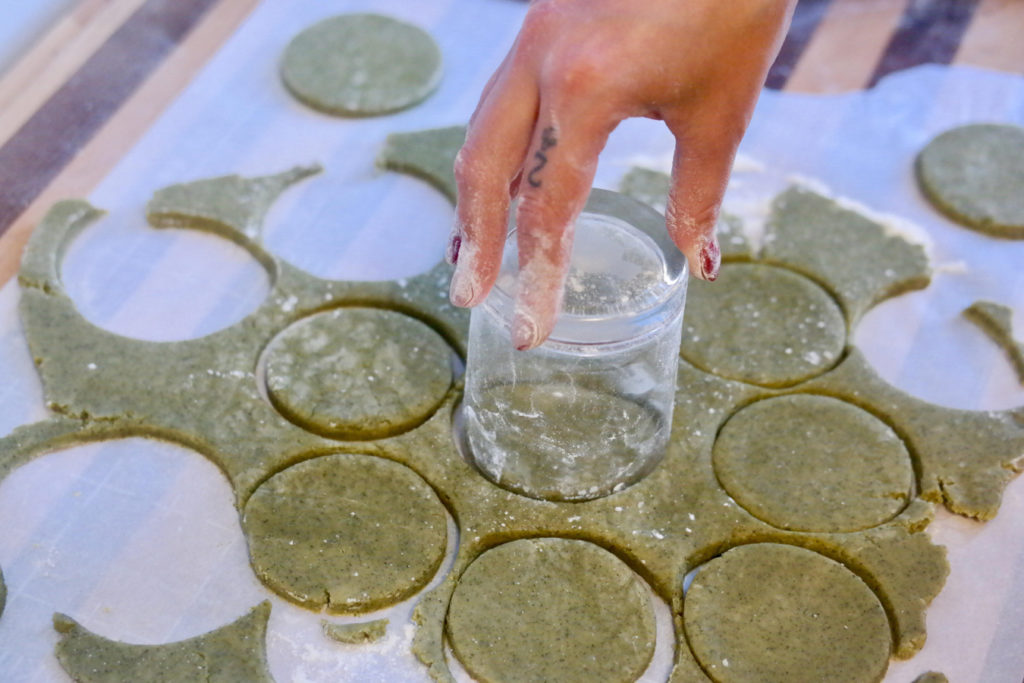
When the dough is ready, roll it out on a freshly floured surface to about 1/4-inch thickness. Use a small glass with the rim floured to cut out individual cookies.
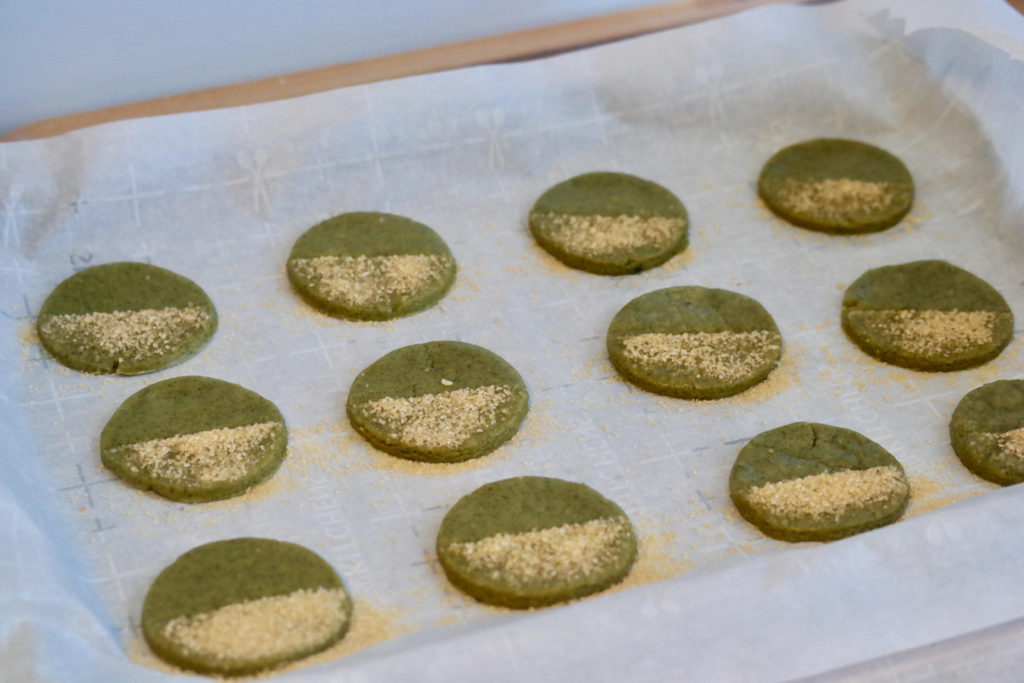
Place the cookies on parchment-lined baking sheets, spaced about an inch apart. Once you have all of your dough cut into cookies, sprinkle raw sugar on half of each cookie (you can use a cleaned ruler to help section off one side of each cookie).
Bake the cookies for 5 minutes at 350°F, then rotate your baking sheets in the oven from top to bottom racks and also spin them around to bake for another 5 minutes or so, until the cookies are slightly browned at the edges. Set them aside to fully cool.
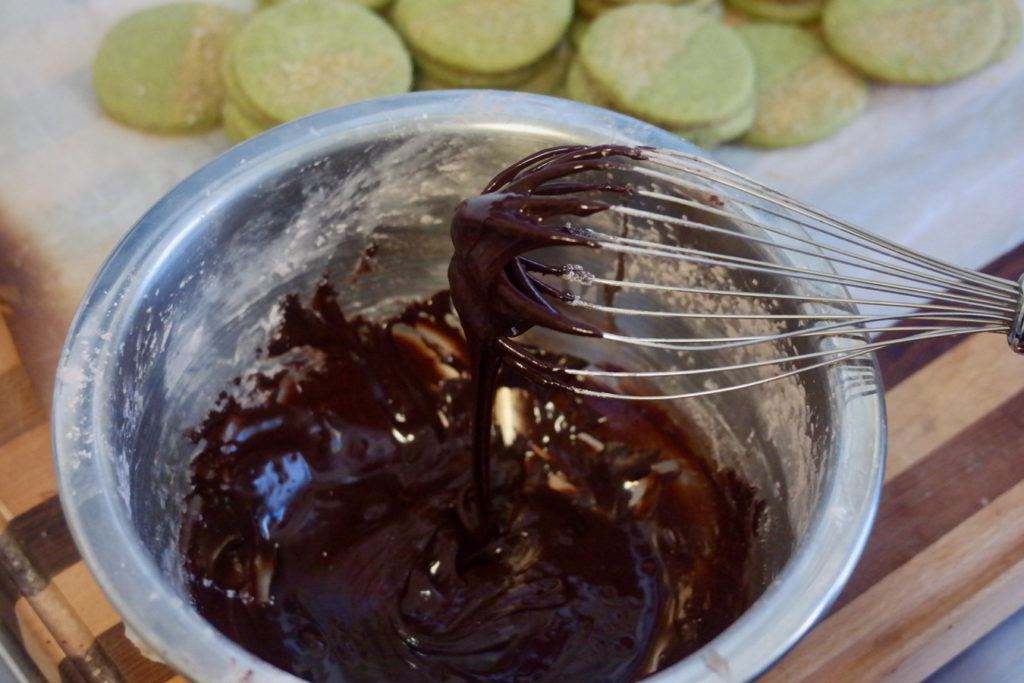
Meanwhile, stir a cup of powdered sugar and 2 tablespoons of cocoa together. Mix in a tablespoon of corn syrup, a pinch of salt, and 2 tablespoons of warm water and whisk together until you have a glaze.
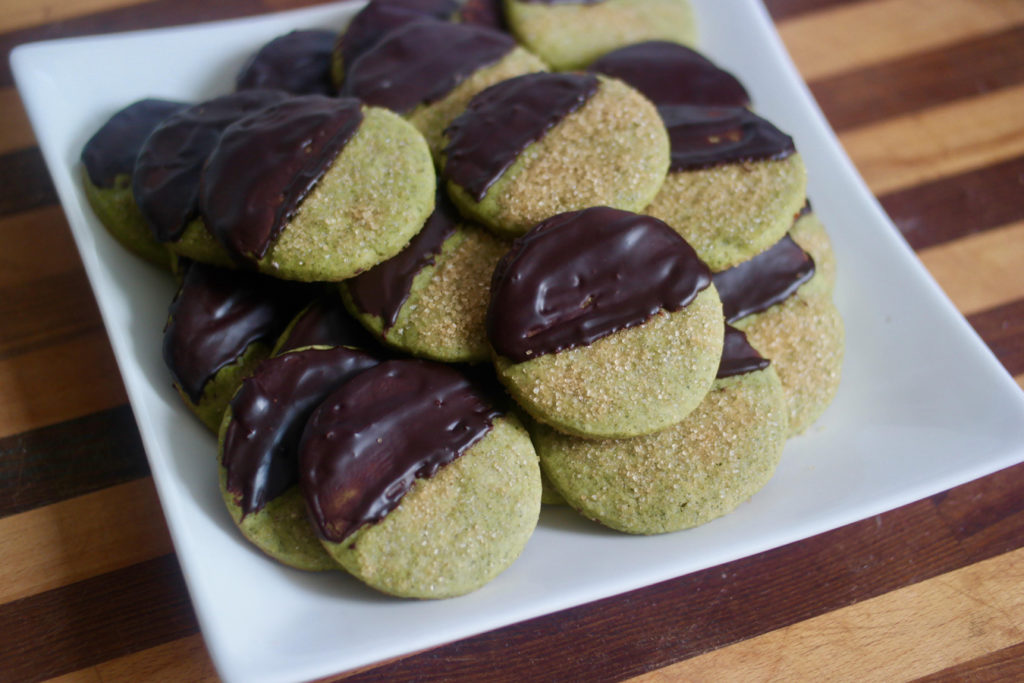
Once the cookies have completely cooled off, use the back of a small spoon to coat the non-sugared side of each cookie in the glaze. Let the cookies set for at least 2 hours, and then they’re finished!
Can you see why we think these were our best cookies this year? You’ve got the classic combination of mint and chocolate, with the minty flavor coming from real herbs and supplying a natural green color. There is a little bit of assembly involved here – separating the cookies into two halves and sprinkling one with sugar and carefully spreading chocolate glaze on the other side does take some amount of care. This recipe also requires a few hours from start to finish, between letting the dough chill and cooling the cookies before glazing them and then letting the glaze set. But it was worth it, because these cookies are delicious and they were a big hit among everyone we shared them with. So if you’ve got the time and the inclination for some holiday sweets, try these out.
